How to Create a Staging Site for Your Live Site?
Let’s get started!
- Go to your Dashboard.

- Select your active hosting plan in the product/service section.
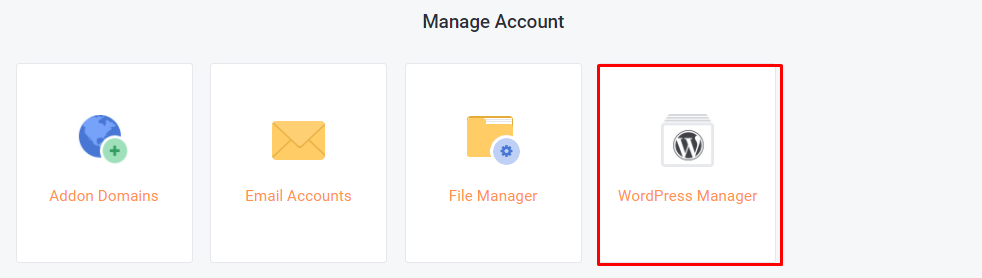
- On the next page, you can see a section called “Manage Account”. In that select ‘WordPress Manager’.
- On this page, all your WordPress installations will be listed.

- Click, Edit.
- In the ‘Installation Details’ page under ‘actions’ you can find an option called “Staging”

- Click "Staging" to create one
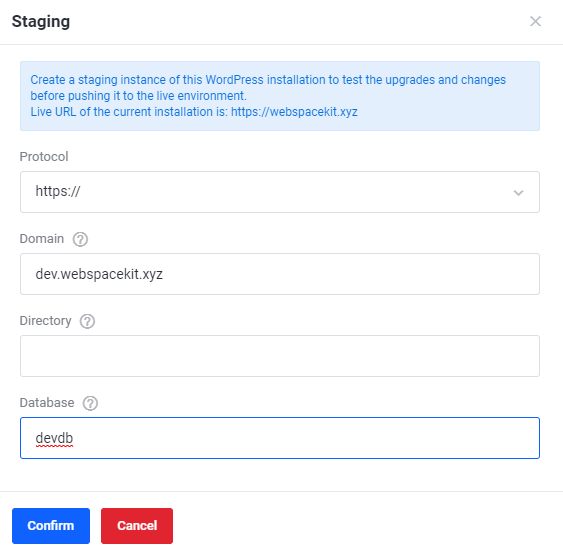
- In this section, provide the following details:
- Protocol: Need to select https:// or https://www
- Domain: Need to enter the subdomain in which you want to create the staging.
- Note: Provide a domain to install the application. If the provided domain does not exist yet, it will be automatically created.
- Directory: Need to enter the Directory in which you want to install the WordPress installation.
- Note: The directory is relative to your domain and should not exist. To install WordPress at https://mydomain/dir/ just type dir. Leave the field empty if you wish your WordPress to be installed in https://mydomain/ only.
- Database: Need to type the name of the database to be created for the installation.
- After entering the details, Click 'confirm' to create staging.
- You will get a confirmation, like this:

- After that go back to the "WordPress Installations" to view the newly created staging site.
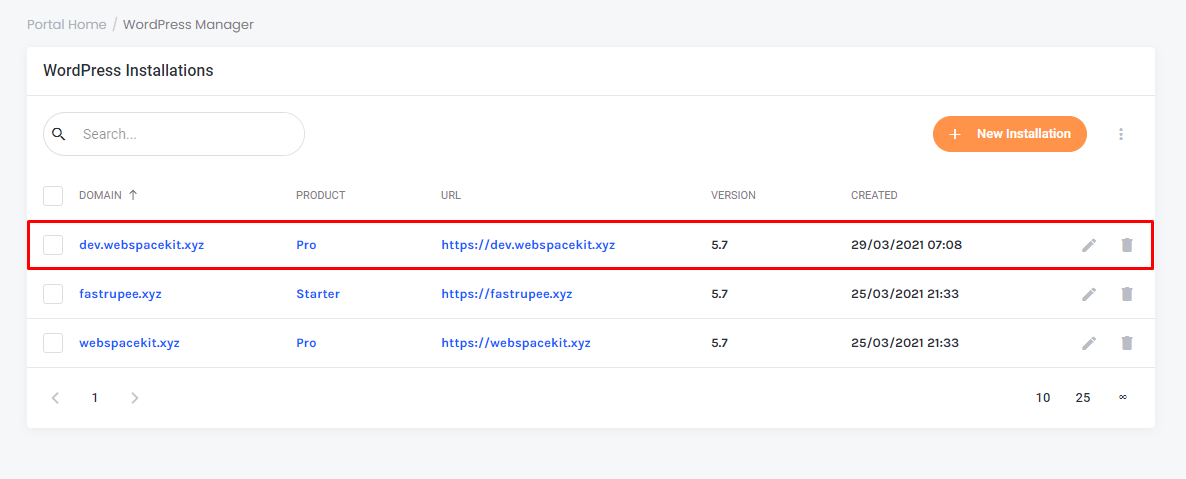
- To view the staging site, click the domain name.
- That's it, you have successfully created the staging for your website.
Updated on: 22/11/2023
Thank you!