How to Launch a New/Additional WordPress Site?
Let’s get started!
- Go to your Dashboard.
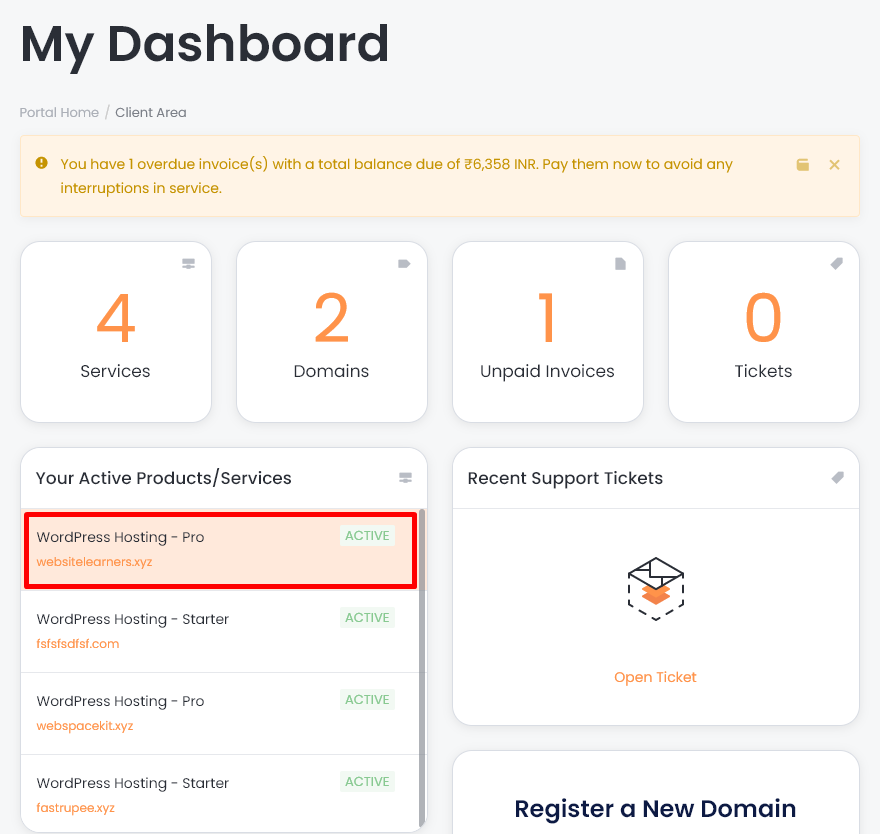
- Select your hosting plan.
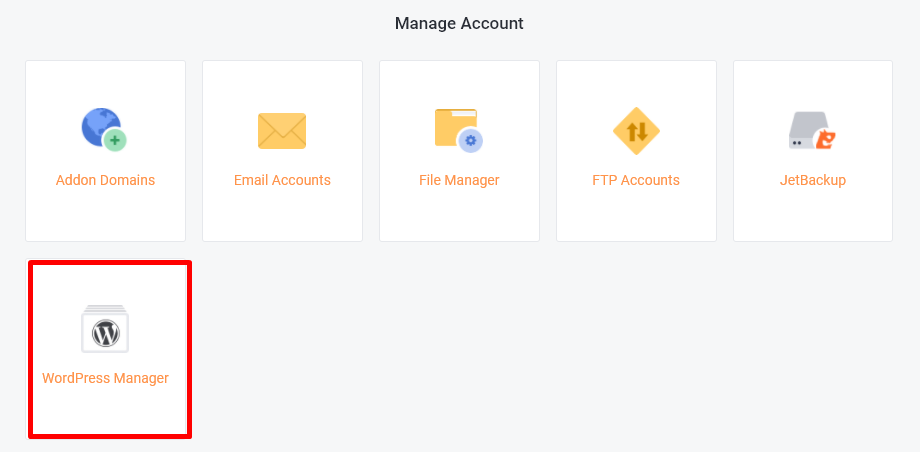
- Under managed account, select WordPress Manager.
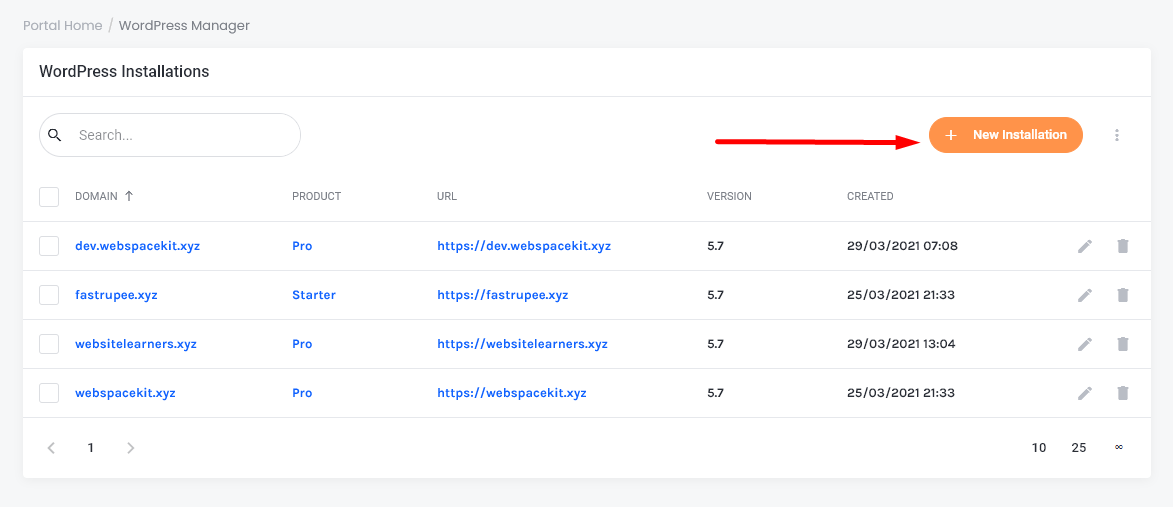
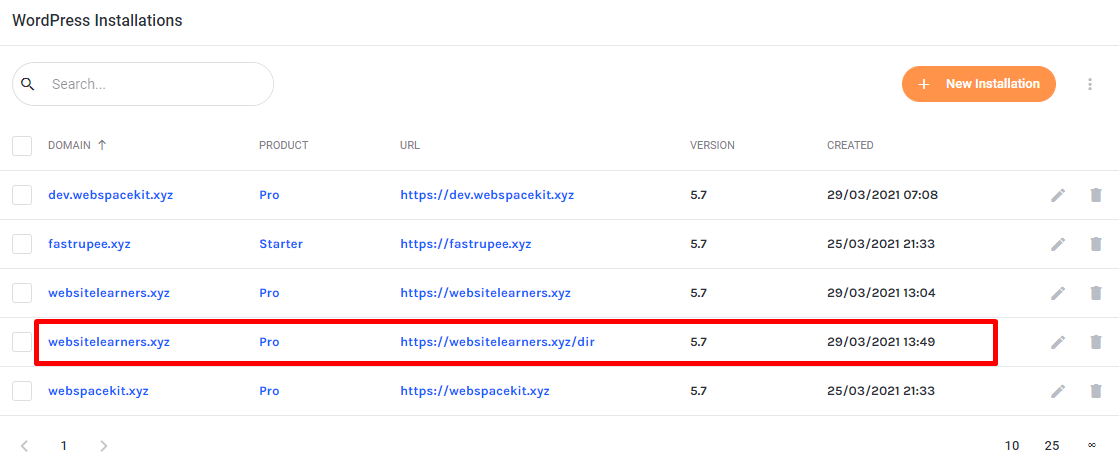
- In the WordPress Installations section click 'new installation'.
- In this section, enter the following details:
- Domain:
- Administrator Password.
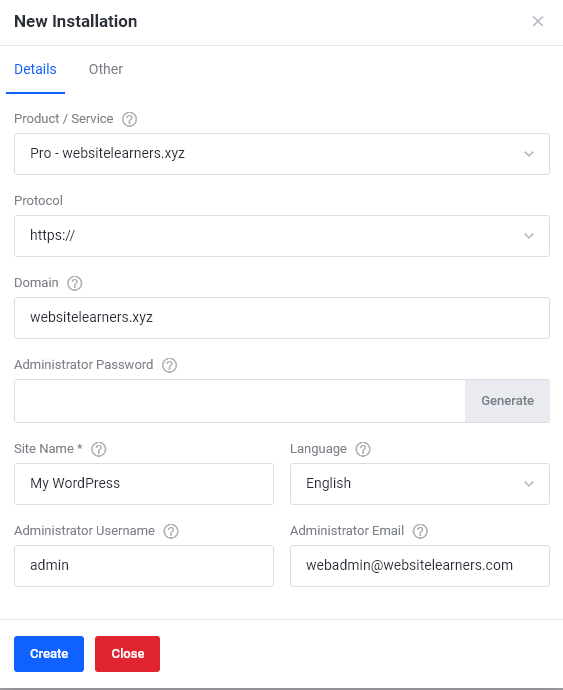
Note: In the domain section, you have to enter your domain name which you already have.
- Click 'create'.
- You will get a notification that the installation is successful.

- That's it! You can see the new installation listed below.
Updated on: 23/11/2023
Thank you!