How to change the Name servers of a domain in WebSpaceKit?
Change Name Servers in WebSpaceKit
Step 1: Login to your WebSpaceKit dashboard
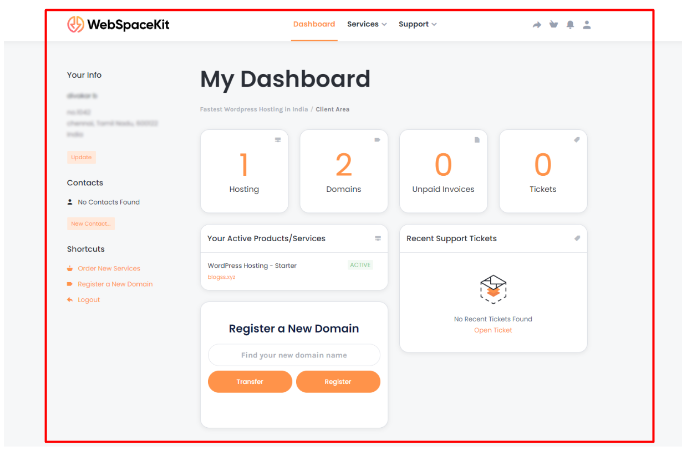
Step 2: Click ‘Domain’ in your WebSpaceKit dashboard.
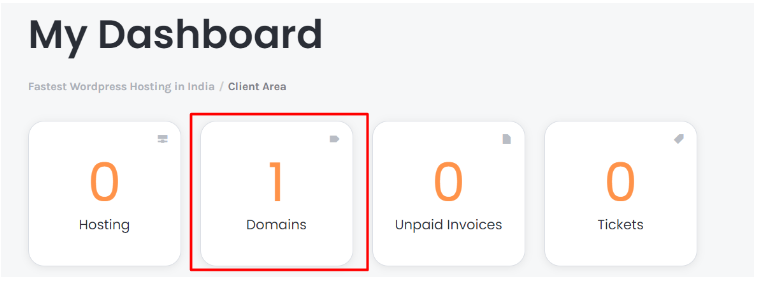
Step 3: Here select your domain, for which you want to change the Name server.

Step 4: Click ‘Name servers’

Step 5: Click ‘Use default nameservers’ to update the default WebSpaceKit name servers.
To update the custom name servers, click on ‘Use Custom nameservers’ and enter the name server details.

Step 6: Click on ‘Change Nameservers’ to save the changes.
Updated on: 23/11/2023
Thank you!