How to Buy a New Domain and Hosting in Webspace Kit?
Getting started with buying a new domain:
- Visit Webspacekit, search for a domain.
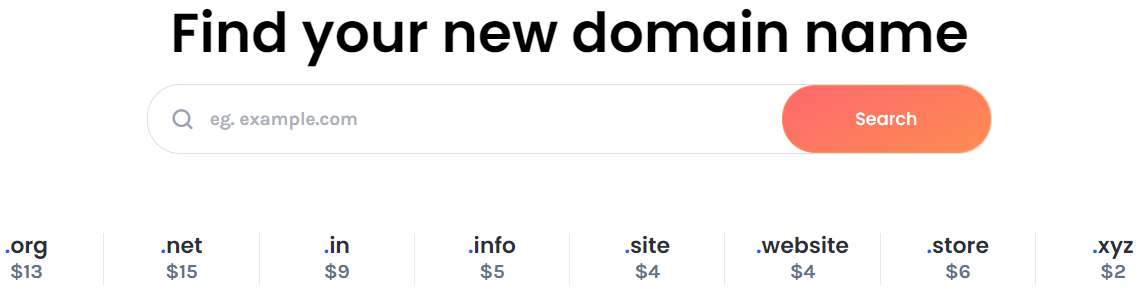
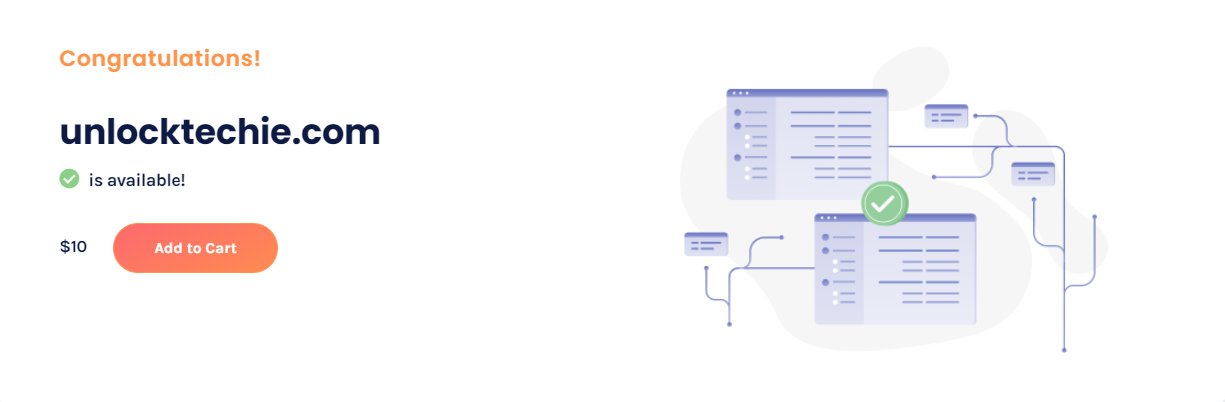
- If your domain name is available, then it will show a success message telling 'your domain is available.'
- If your domain is not available, then it will show an error message telling 'your domain is unavailable.'

- Try searching with a different keyword that relates to your idea or business.
- We suggest using Leandomain for finding your right domain name.
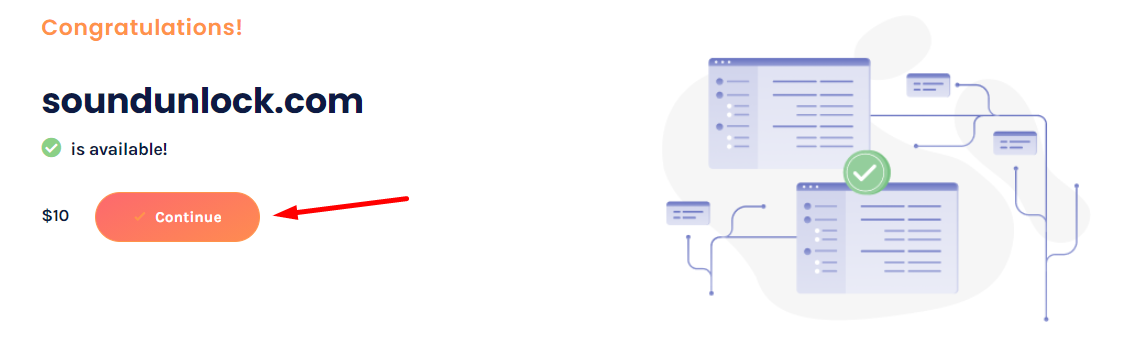
- After finding your right domain name which is available for purchase, click add to cart and continue.
Note: In order to make your new site live on the internet, you need a hosting plan.
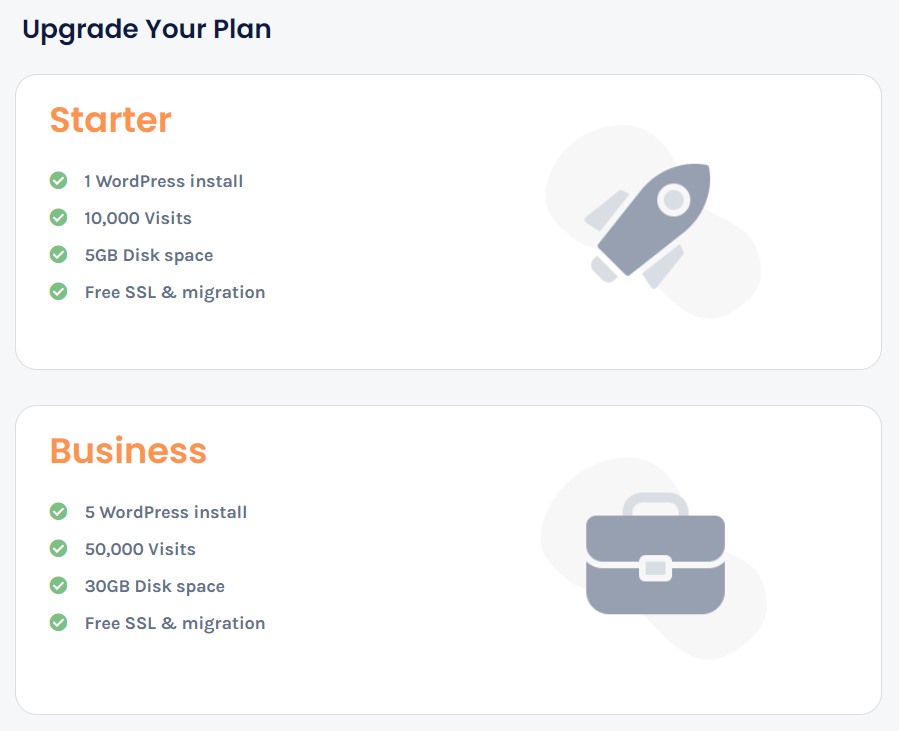
- In this step, you have to choose a plan that works for you.
- Let’s choose the ’Pro’ plan, click order now.
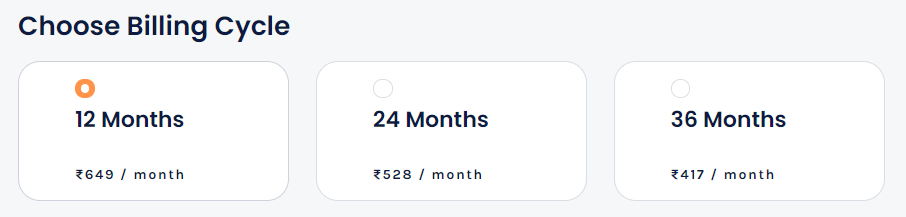
- After choosing your plan, you will be redirected to the configuration page where you can see your order summary, billing cycle, and plan upgrade option.

- You can change your billing cycle to 24 or 36 months, the pricing for each cycle is mentioned below.
- And you can also change your plan, which you have selected previously.
Note: The Order summary is updated based on the billing cycle and hosting plan selected.
- After making your configuration, click continue.
- After clicking continue, you will be redirected to the checkout page.
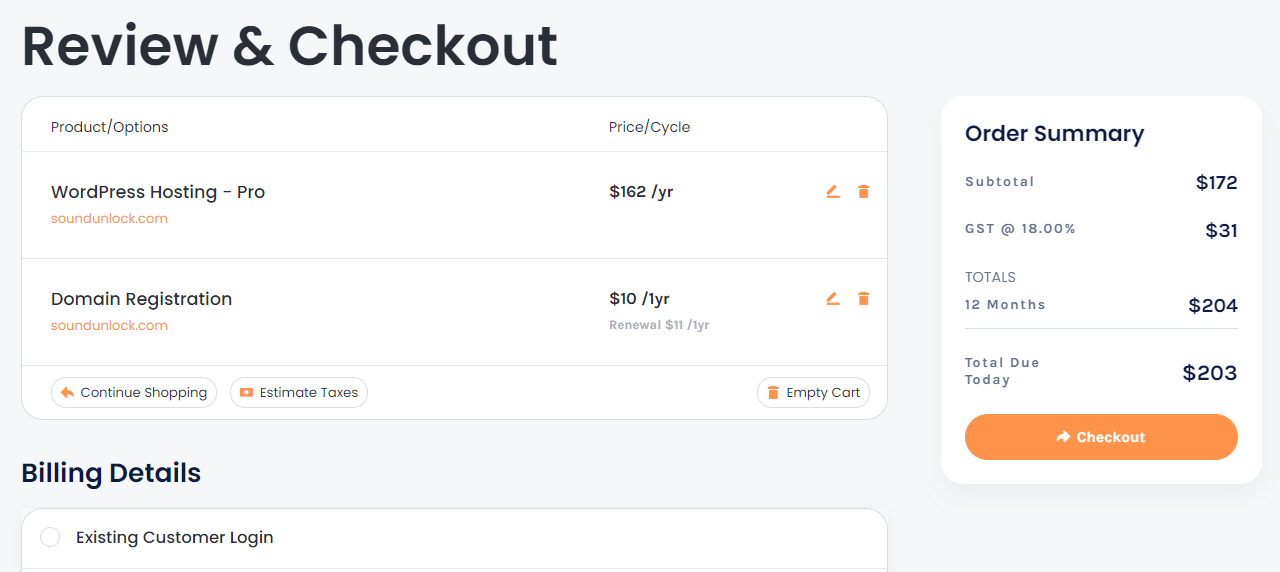
- On this page, you have to enter your billing details and you have to choose a Payment Method to check out.
Note: If you already have an account, then you can choose ‘existing customer login’ and enter your credentials.
- Finally, click ‘checkout’. You will be redirected to the payment gateway. In our instance it is razorpay.
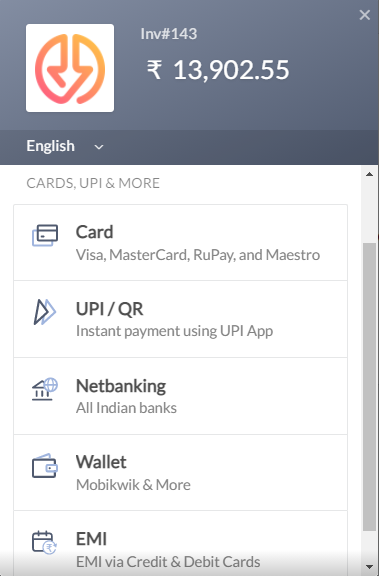
- Select your payment option and complete the payment.
- After completing the payment, you will be redirected to the order confirmation page.
![Order Confirmation](https://lh6.googleusercontent.com/h-lLWKaZgue_GPhCToqbamw_CH0dAzAKwtKbzsqdS7eqbv6RGBJPJ--jXSGo7ViRiTPWgYb
Updated on: 22/11/2023
Thank you!