How to add Multiple WordPress Websites to Webspacekit?
To host an additional domain on your WebSpaceKit hosting account. First, purchase the domain name from your WebSpaceKit account, follow the instructions in the below link - How to buy a new domain within the client area for existing client
Please Note: Before adding the domain you need to point the domain to our server either by updating our WebSpaceKit Nameservers or A & WWW records.
How to add multiple WordPress Websites to WebSpaceKit
Step 1: Login to your WebSpaceKit Dashboard
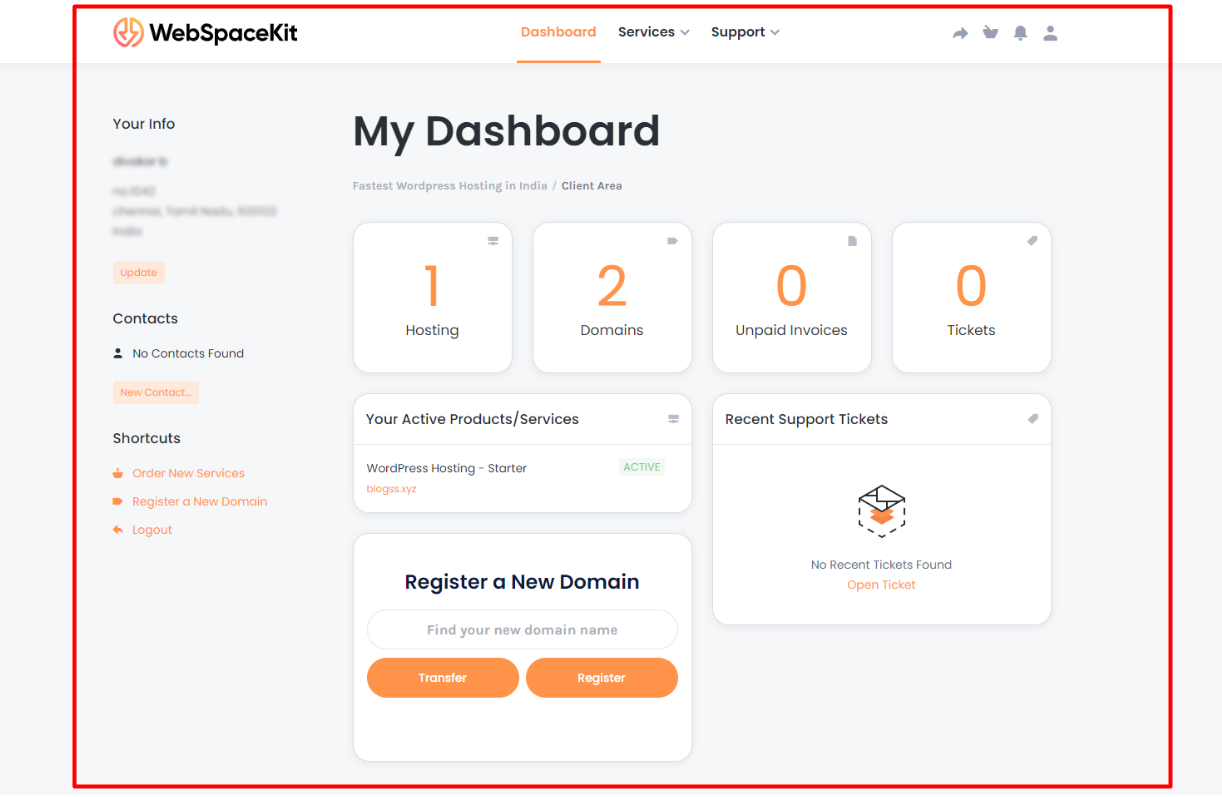
Step 2: Click Hosting in your WebSpaceKit Dashboard
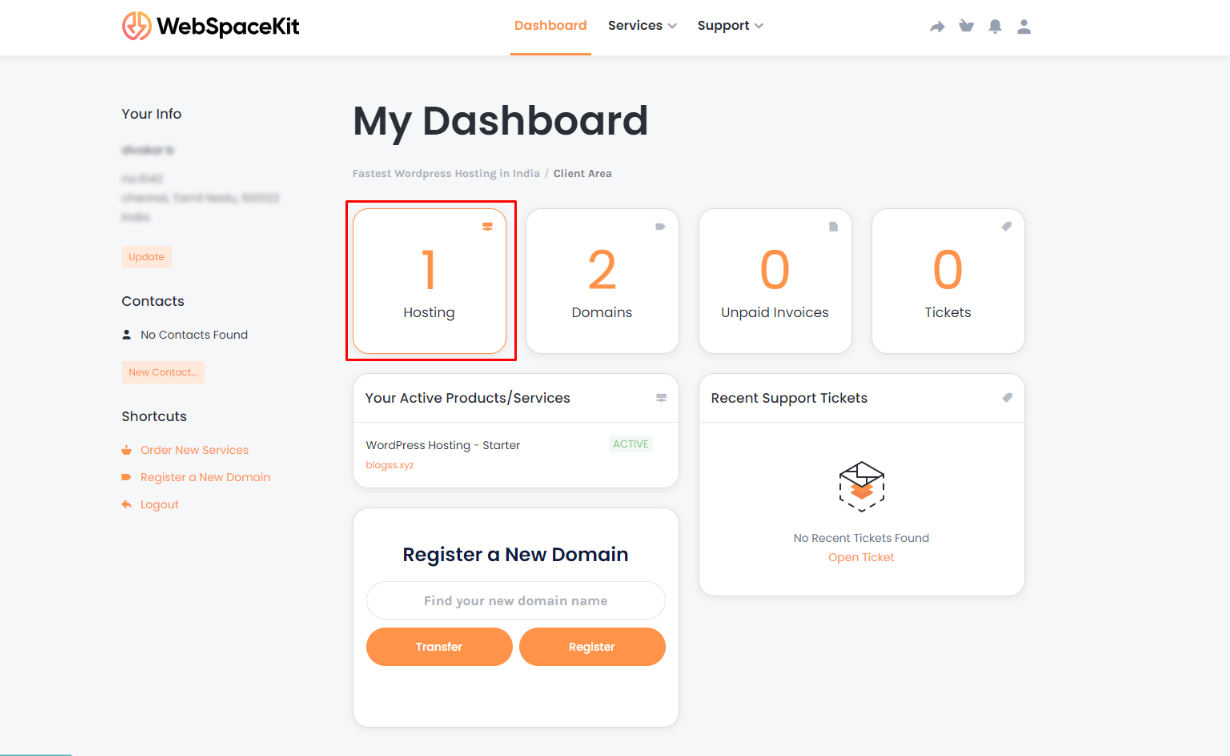
Step 3: Click the Hosting Plan to Manage all your hosting features.

Step 4: Hosting Manager Page will open, scroll down to click cPanel to log in to your cPanel Dashboard.
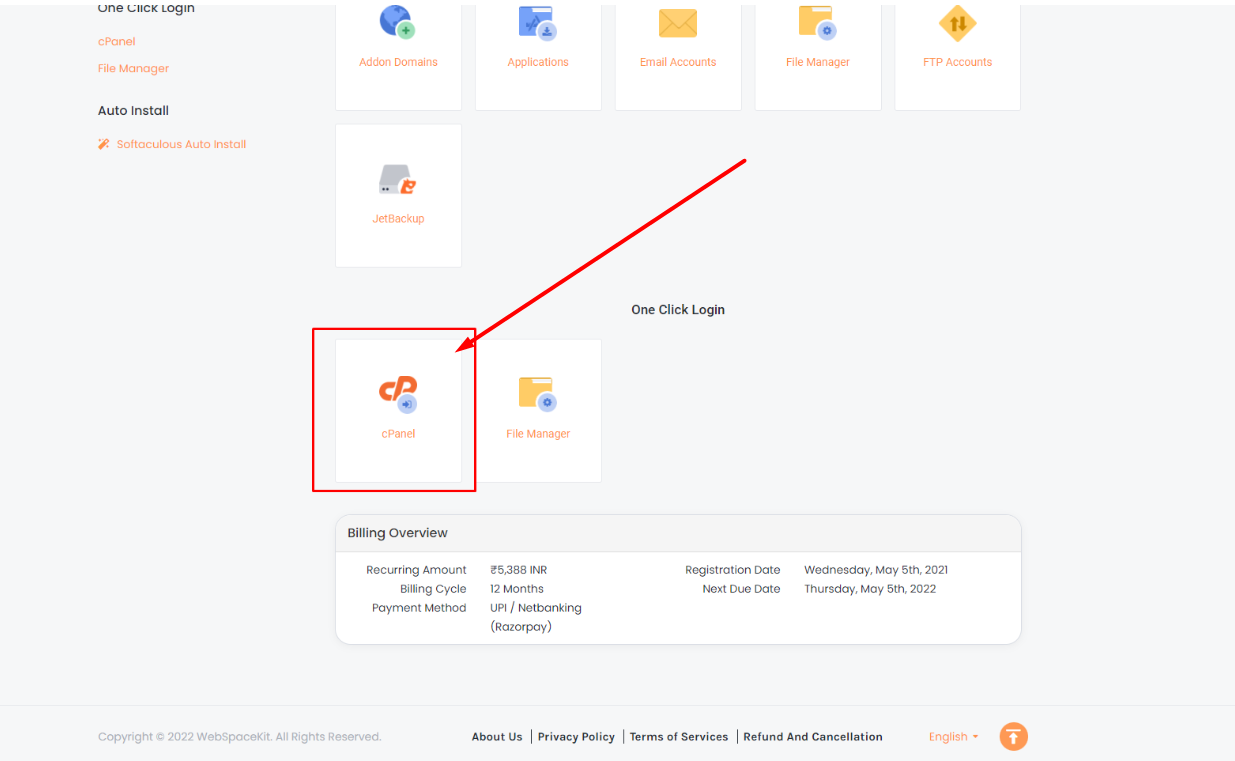
Step 5: Cpanel Dashboard will open, scroll down to find Domains.
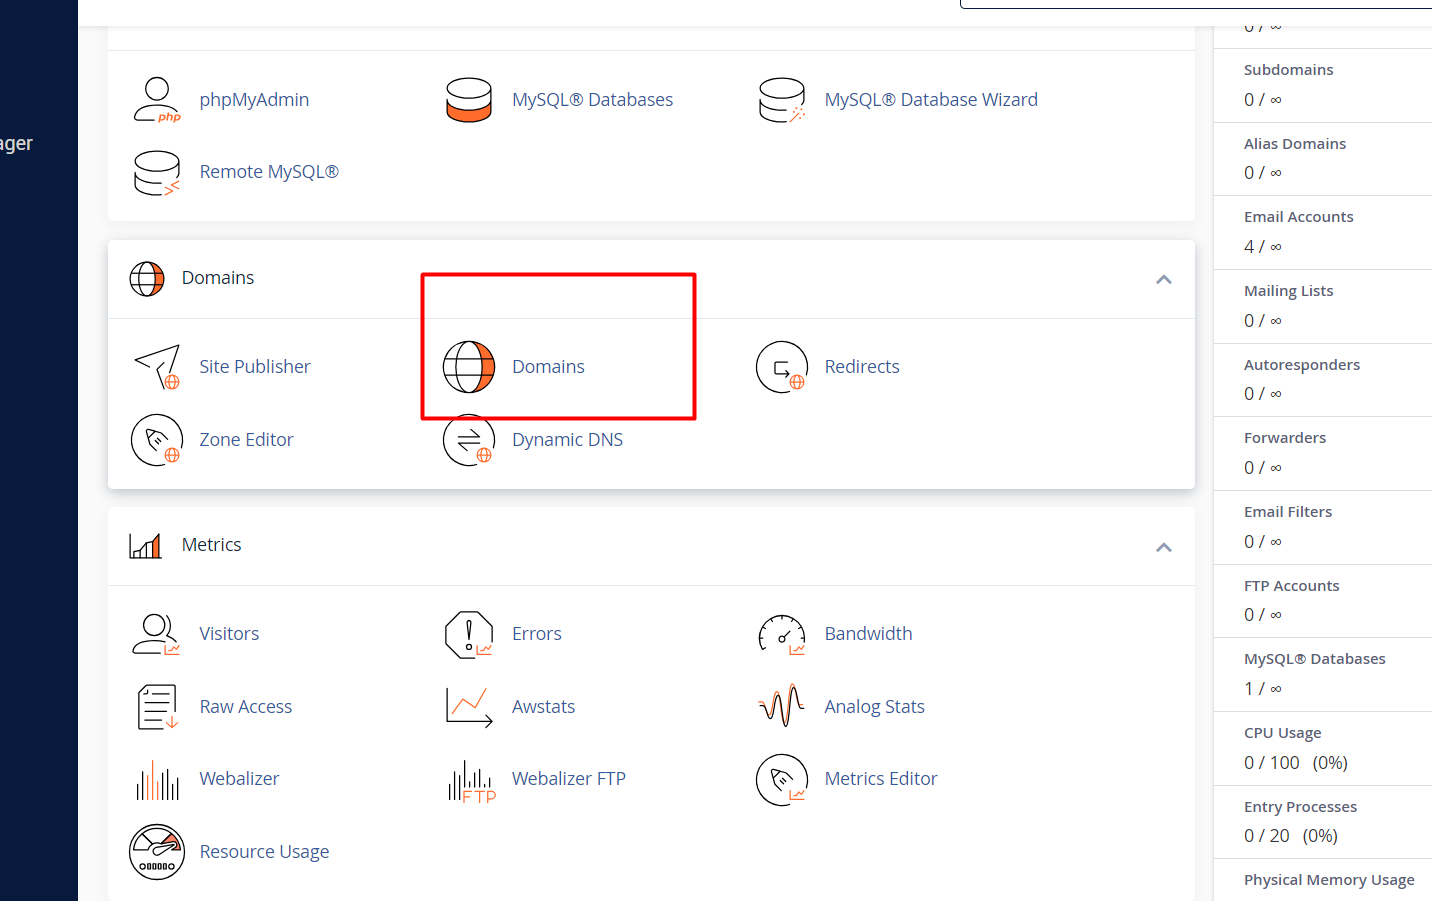
The domain page will open
Click create a new domain

Step 6: Enter the additional domain which you have purchased. Enter the domain name in the New Domain Name section, Subdomain, and Document root will be auto-filled. Click Add Domain to add Domain.
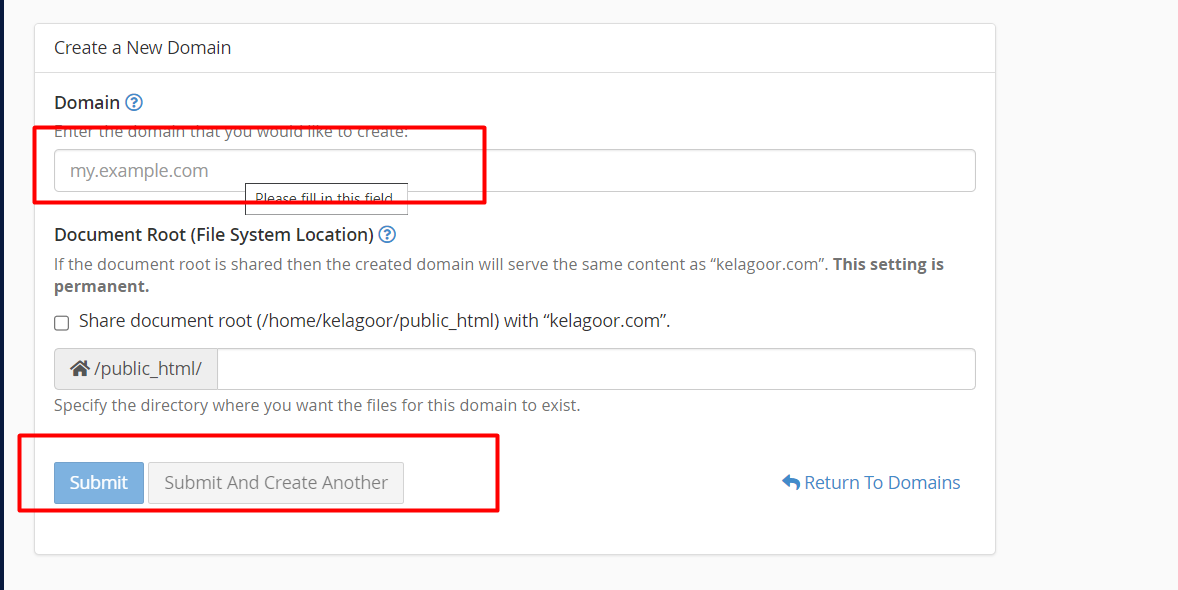
Upon clicking the Add Domain button, a new domain will be created.
Now let’s go to the next step, which is to install WordPress on the added domain.
Step 1: Cpanel Dashboard will open, scroll down to find Softaculous App Installer or WordPress Manager

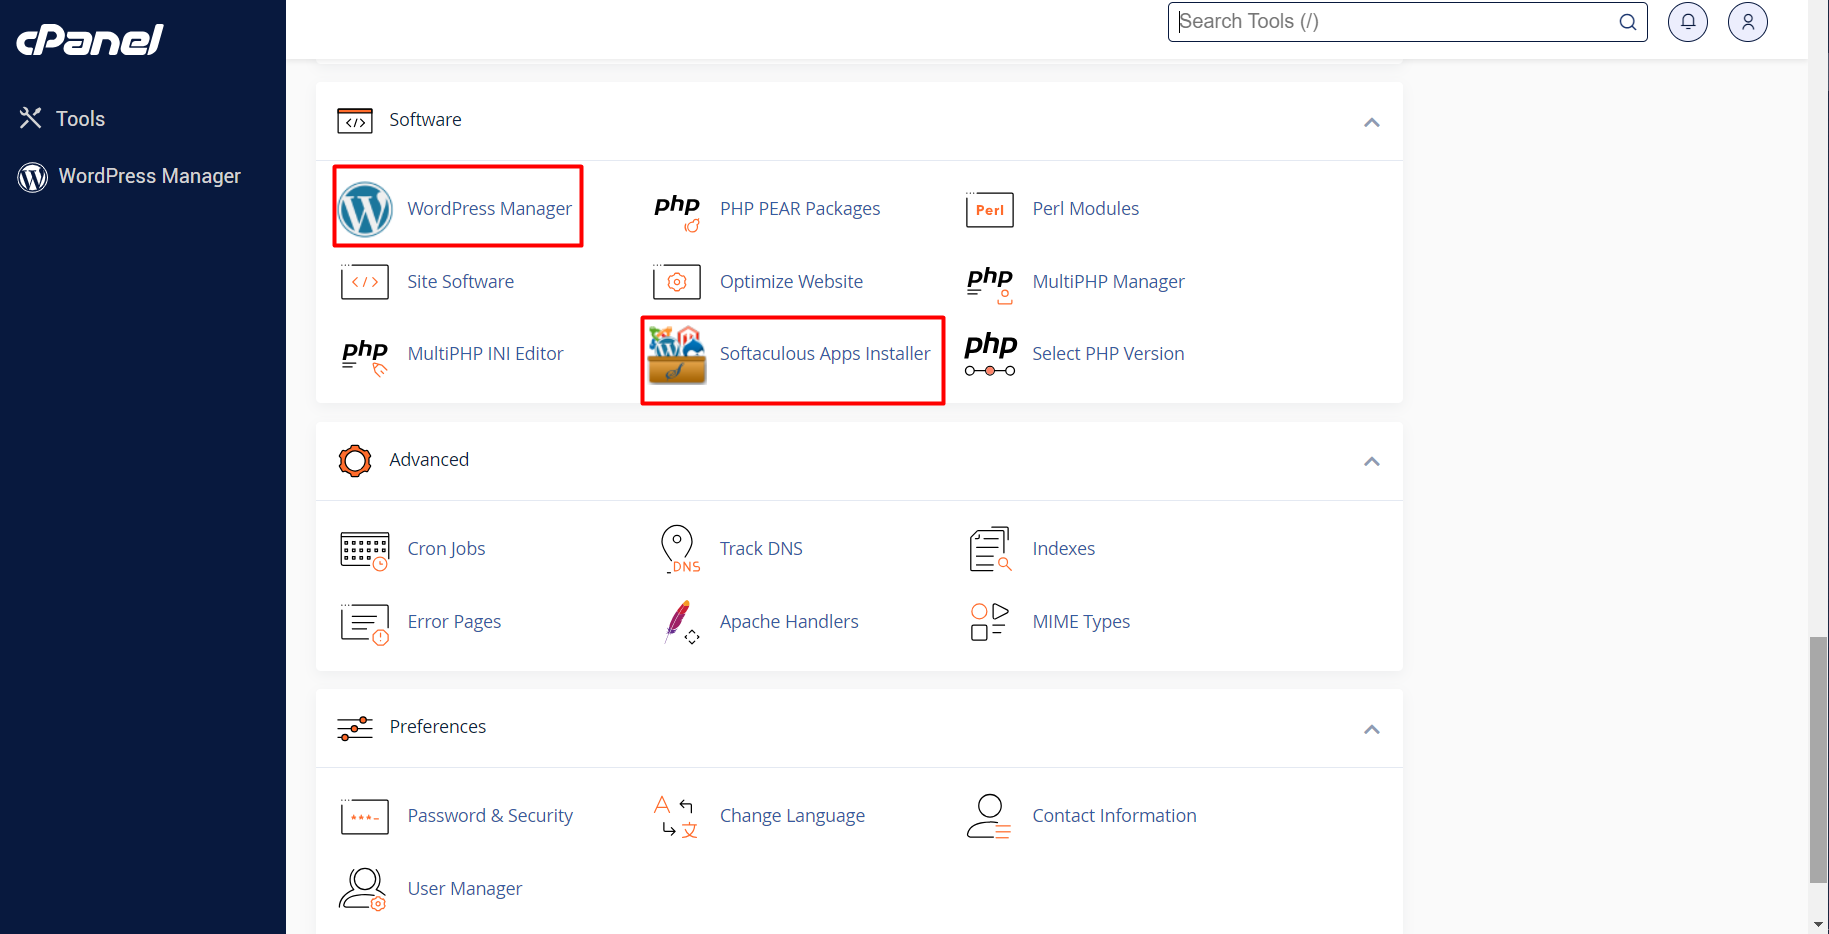
Step 2: There will be a WordPress Section, click the installation button to install WordPress on your website.

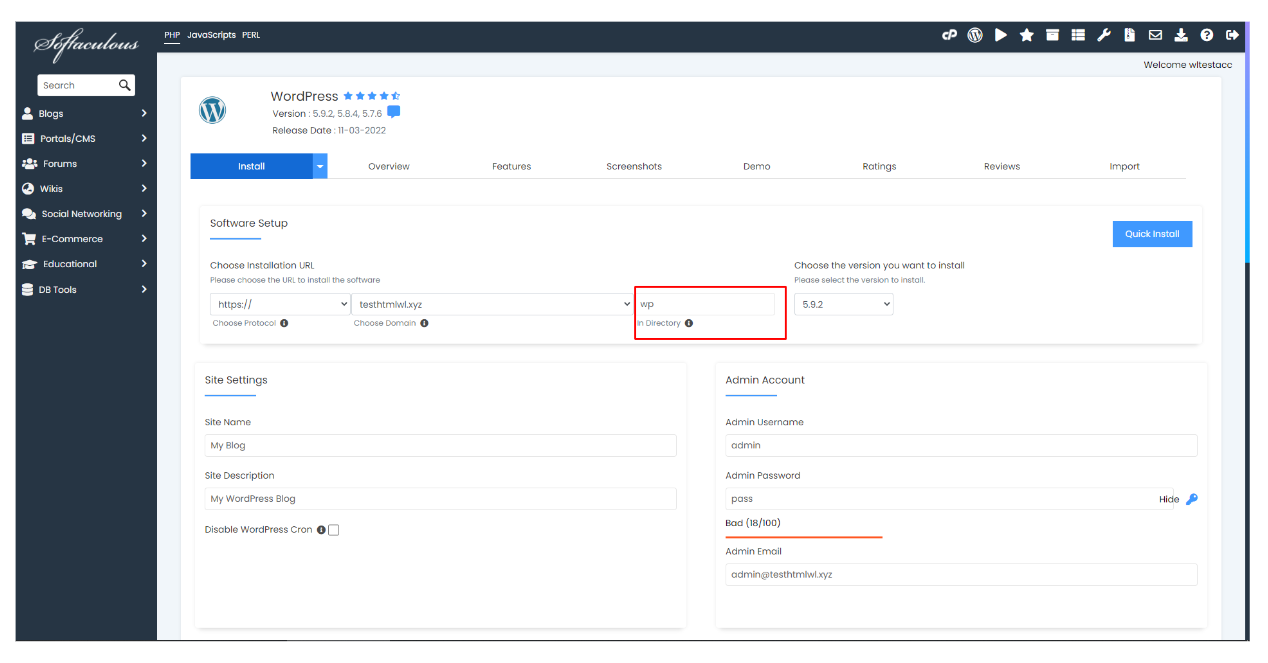
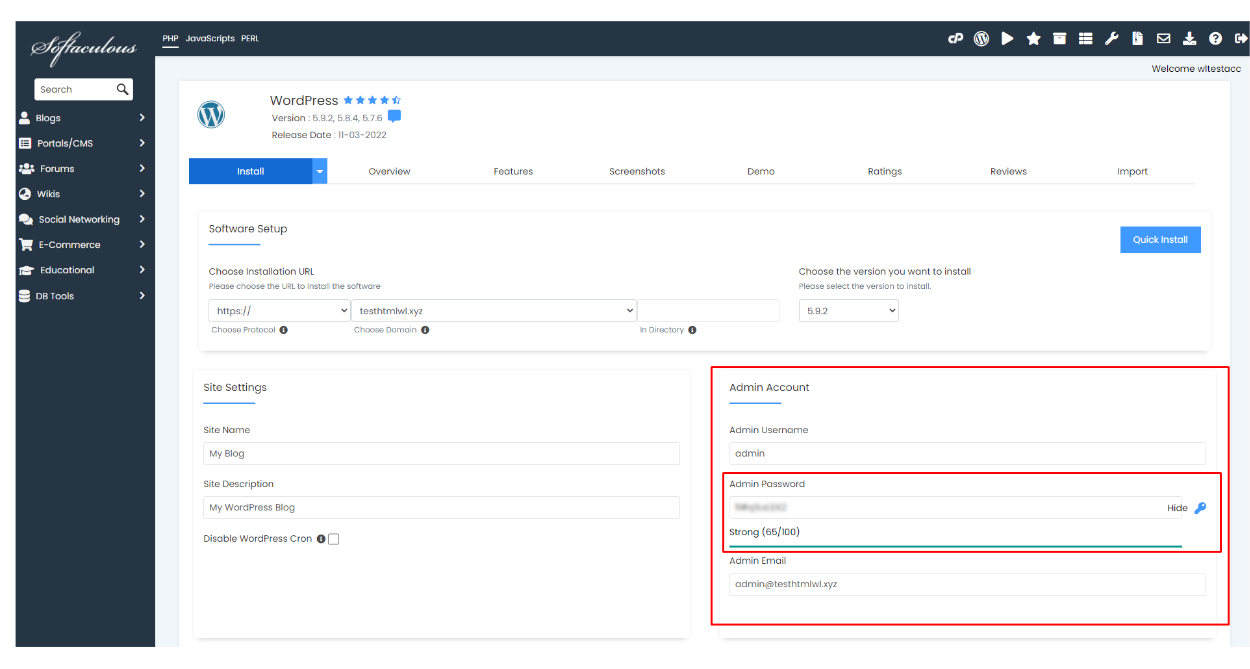
Step 3: After clicking the installation button, the WordPress installation page will appear. You will be able to add Username, Password, choose theme, plugins & Edit your administrator email in one place.
Note: Make sure the directory button is empty.
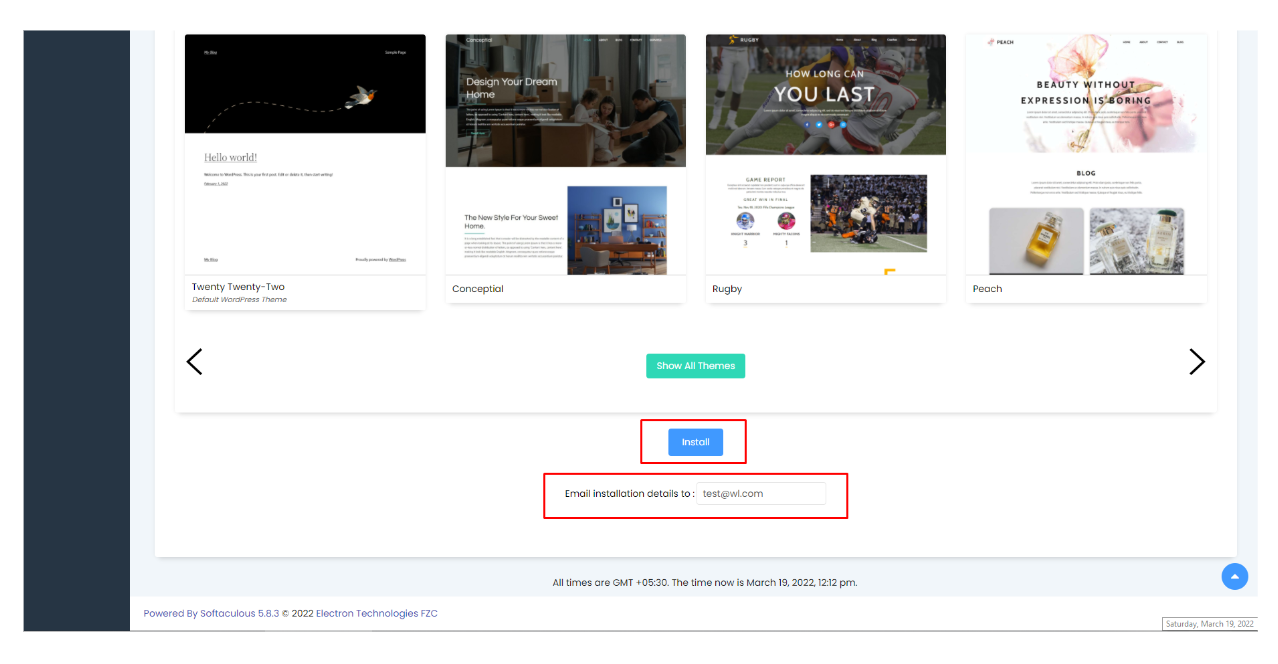
Step 4: Once all information added like (Username, Password & Admin Email) Scroll down to enter your email to receive installation details & Click Install to install WordPress.
Note: We highly recommend using strong passwords for your site security.
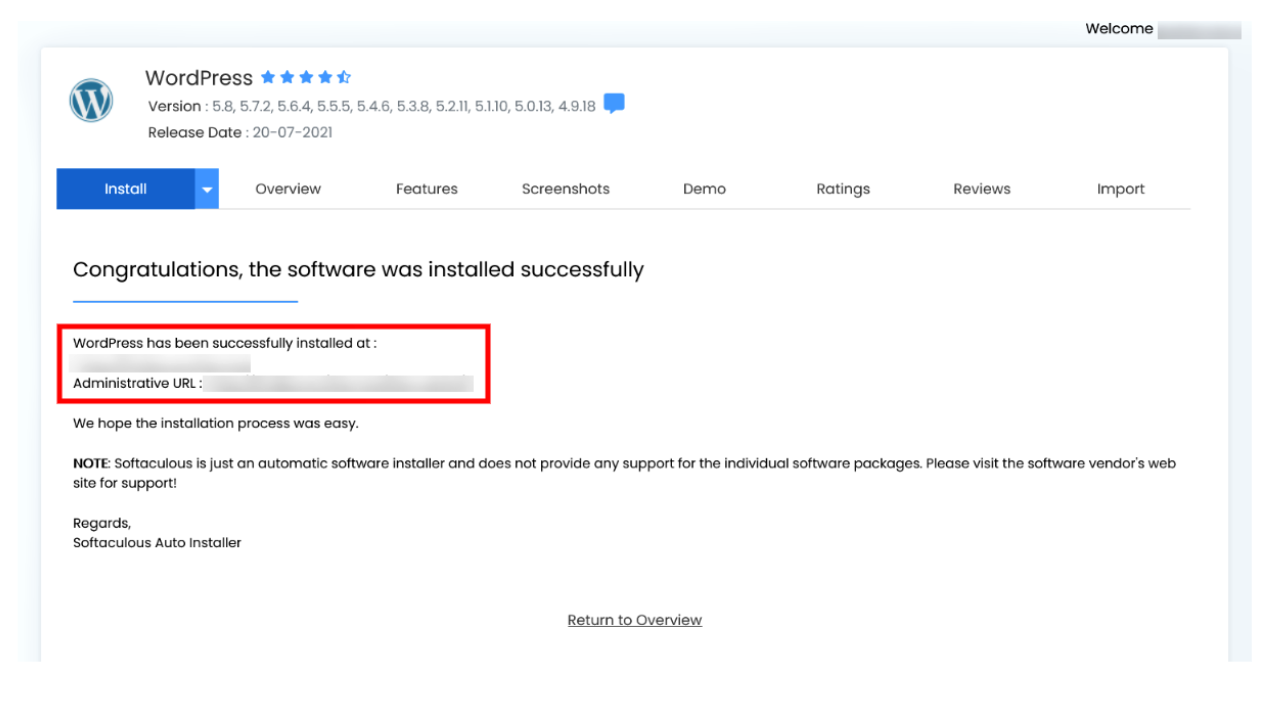
Step 5: Congratulations WordPress is successfully installed.
Updated on: 23/11/2023
Thank you!